Hello, Lovely Ladies,
Welcome to my Blog!
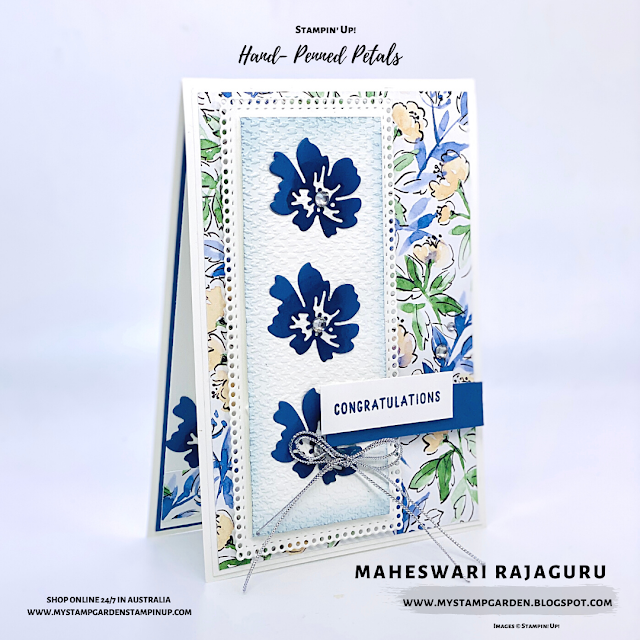
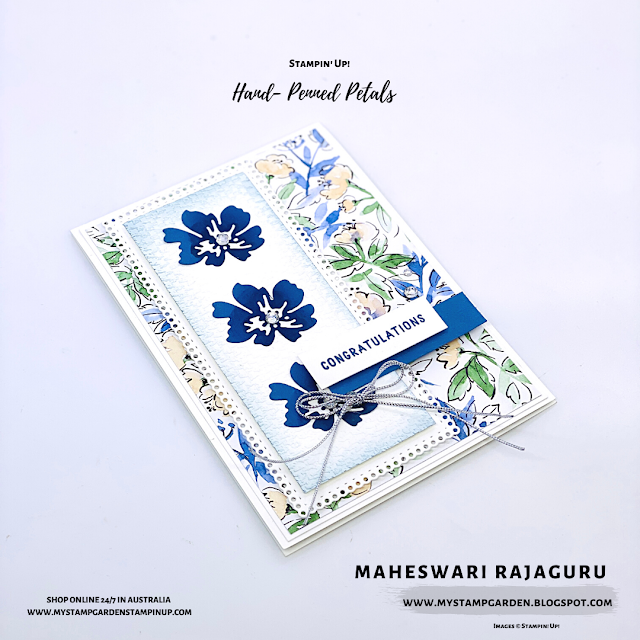
My Today’s card for The Spot Design Team project TheSpotChallenge#158. For this week we are using the same sketch which we used for our last week’s challenge.
This is my third card using this beautiful Stampin’ Up! Hand Penned Petals Suite from the New Annual Catalogue 2021-2022. I Love it!
Customers can purchase this New stamp set from May 4th, 2021. But as a demonstrator, I can purchase these products now. You can Join today to order this beautiful stamp set to your pre-order with FREE SHIPPING.
- Basic White as my base card A4 Cardstock- ( 10.5 cm by 14.9cm)
- Layer 1: Basic White 10cm by 14.4cm
- Layer 2: Hand Penned Petals Designer series Paper- 9.7 cm by 14.1 cm
- Layer 3: Basic White ( Used Ornate Garden Thanks die )
- Layer 4: Basic White: 5 cm by 12.5 cm ( embossed using tasteful textile embossing folder )
- Misty Moonlight ( 10 cm by 14.4cm -Inside )
- Basic White ( 9.7cm by 14.1 cm )
- Attach Layer 1, Layer 2 together and adhere them to the base card.
- Adhere the Layer 3 using Stampin’ Dimensional.
- Next sponge the edges of Layer 4 using Misty Moonlight Stampin’ Ink and attach it using Stampin’ Dimensional.
- Die-cut the flowers using Misty Moonlight A4 cardstock, Color the inside using Misty Moonlight dark Stampin’Blends, and used Sponge Daubers to sponge the center of the flower using Stampin’ Misty Moonlight Classic Ink and adhere it to the card using Tombow multipurpose glue.
- Stamp the sentiment using Misty Moonlight Stampin’ Ink and attach it to the card using sentiment using Stampin’ dimensional.
- Added the simply elegant Silver trim using glue dots.
- As a final touch added the rhinestone to the center of the flower.
- Decorated the inside of the card using the Designer Series Paper and the die-cut flower.






Beautiful card, Maheswari. Great job! Enjoy your day!
Thank you so much Hilda for taking your time to leave me a comment. Have a great day- hugs Maheswari 🙂